HOW TO TAKE PICTURES OF YOUR HOUSE TO SELL
The process of selling your home is undoubtedly a complex one. You will need to hire a trusted real estate professional, prepare your house to sell, market it online and in person, attract offers, and ultimately negotiate on a final sale price. However, a crucial step needs to be added to this list: real estate photography.
A home listing that incorporates high-quality photographs can sell faster and for more. However, a 2022 study showed that many sellers are unprepared for photos. If you’re ready to garner maximum buyer interest, you’ll need to learn how to take pictures of your house to sell. Below, The Sarah Leonard Team has compiled a list of top tips to photograph your property like a pro.
A home listing that incorporates high-quality photographs can sell faster and for more. However, a 2022 study showed that many sellers are unprepared for photos. If you’re ready to garner maximum buyer interest, you’ll need to learn how to take pictures of your house to sell. Below, The Sarah Leonard Team has compiled a list of top tips to photograph your property like a pro.
HOW TO PHOTOGRAPH YOUR HOME SO IT WILL SELL
Before you start photographing the interior and exterior of your home, you’ll need to prep both spaces.
Declutter the home
When decluttering your house, the end goal is to make it appear more spacious and inviting for buyers. Scan each room for any spare scraps of paper, books, children’s toys, or knick-knacks and put them into storage. Start with the largest rooms that get the most traffic. Remove any small kitchen appliances that may take up counter space. Put away items like power cords, cups, and tissue boxes from your bedside tables. Be sure to organize boxes or random belongings in storage areas such as attics, garages, and basements, as buyers will be interested in looking at these spaces.
Stage the home
Even though it’s possible to stage your home yourself, it’s always a good idea to get the input of an interior designer before you take listing photos. Home stagers will strategically place furniture and decor to ensure fluidity, movement, light, and space in each room. Simple accents, such as decorative books carefully placed on a shelf, fresh flowers on the kitchen island, and clean, unkempt beds go a long way in impressing buyers.
Hire a professional photographer
If you simply don’t have the time to take listing photos of your home, now is an excellent time to contact a professional photographer. It’s more complicated than you might think to take professional-grade photographs or videos of a house — not to mention a luxury home.
Or buy a high-quality camera
If you have the time and skill, you can save a considerable sum of money by capturing the pictures yourself. Make sure to take a variety of shots from different angles so you and your listing agent can work together to pick the best ones. Pay special attention to the way you photograph the home from the outside, as many homes appear smaller than they truly are, depending on angles, screen size, and lighting.
Use natural lighting from windows
No matter how high-quality your lighting fixtures, lamps, and chandeliers are, you can’t beat natural lighting when it comes to taking listing photos of your house. Plan your session for a time when the sun hits your home the best, as this will brighten each space and highlight its best features. If the sky is overcast, try to catch the natural light slanting across the home’s surfaces. Because your home’s windows are a primary focus here, experiment with the layers, textures, and colors of your curtains to create eye-catching dimensions.
Highlight the best parts of your home
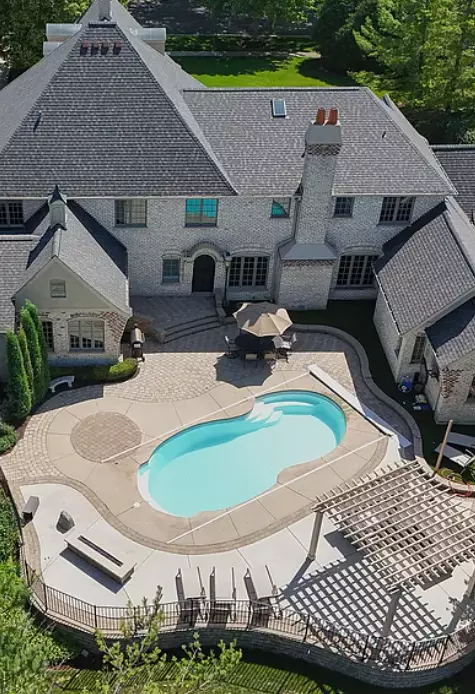
Organize your listing photos in a way that will immediately catch buyers' eyes. You want to pay special attention to the big selling points of your home and feature pictures of them first. If you have handmade carvings on your stairwell, an extensive backyard and pool, or another unique feature that makes your house stand out from the rest, take several photos to highlight these areas.
Find the right angles
Another element of real estate photography that homeowners often forget about is creativity. If you’re working alone, place your camera in unique areas of a room to capture the space from an unexpected angle, or bring the camera above eye level to emphasize the amount of space available.
If you’re working with a professional photographer, sit down with them to determine how they can creatively capture your home’s most attractive amenities.
If you’re working with a professional photographer, sit down with them to determine how they can creatively capture your home’s most attractive amenities.
Only use the best photos
When learning how to take pictures of your house to sell, it’s always better to take more than less. When you meet with your real estate professional to create your listing, you’ll want many options to choose from. A good rule of thumb is to take a dozen or more photos in each room. Take pictures at different times of the day so buyers can get a good idea of how the home looks in various lighting.
Use the RAW picture format
RAW-formatted photographs offer the least amount of compression. This means the photos will come out cleaner, brighter, and with a professionally-styled touch. If your camera doesn’t allow you to save photos in the RAW format, we suggest buying a new one or renting one for the day.
What colors work best for real estate photography?
Every house is unique, boasting architectural feats and its own color scheme. However, there are certainly a few colors you should shy away from when taking listing photos. Avoid light bulbs with more than one temperature, as it will make the room look washed out. Instead, select light fixtures that release a bluer tone rather than yellow. You’ll also want to refrain from layering darker-colored walls with similar-hued furniture, as this tends to make rooms look smaller.
REACH OUT TO A LOCAL REAL ESTATE AGENT TODAY
If you still want to know more about how to take pictures of your house to sell or you’d like to sell or purchase Illinois real estate, get in touch with the Sarah Leonard Team for more information. With over 700 homes sold in 2022 and a staff comprised of 16 top-quality agents ready to help, the Sarah Leonard Team is happy to guide you to a successful real estate transaction.
Categories
Recent Posts

Record-Breaking Sale at Palatine Station — Listed by Sarah Leonard & Suzi Warner!

Just Sold in St. Charles, IL – 6.5% Over Asking! | Top Chicagoland Real Estate Team 4830 Foley Ln, St. Charles, IL 60174

How the Sarah Leonard Team Sells Homes FAST in Chicagoland — No Matter the Market

How the Sarah Leonard Team Sells Homes Fast in Chicagoland — In Any Market

A Piece of Lakefront Paradise at 6301 N Sheridan Rd Unit 11D, Chicago, IL 60660

Stunning Home with Modern Features at 546 Independence Ave, South Elgin, IL 60177

Just Sold! 2101 South St, Geneva, IL 60134

The Ultimate Lifestyle Awaits in Cornerstone Lakes, West Chicago

Indulge in Luxury with This DeKalb Masterpiece at 450 Billings Drive

A New Level of Comfort: 810 Royal Glen DR, Cary, IL 60013
GET MORE INFORMATION

Sarah Leonard
Broker | Owner
